Using Ionic Router in NextNative
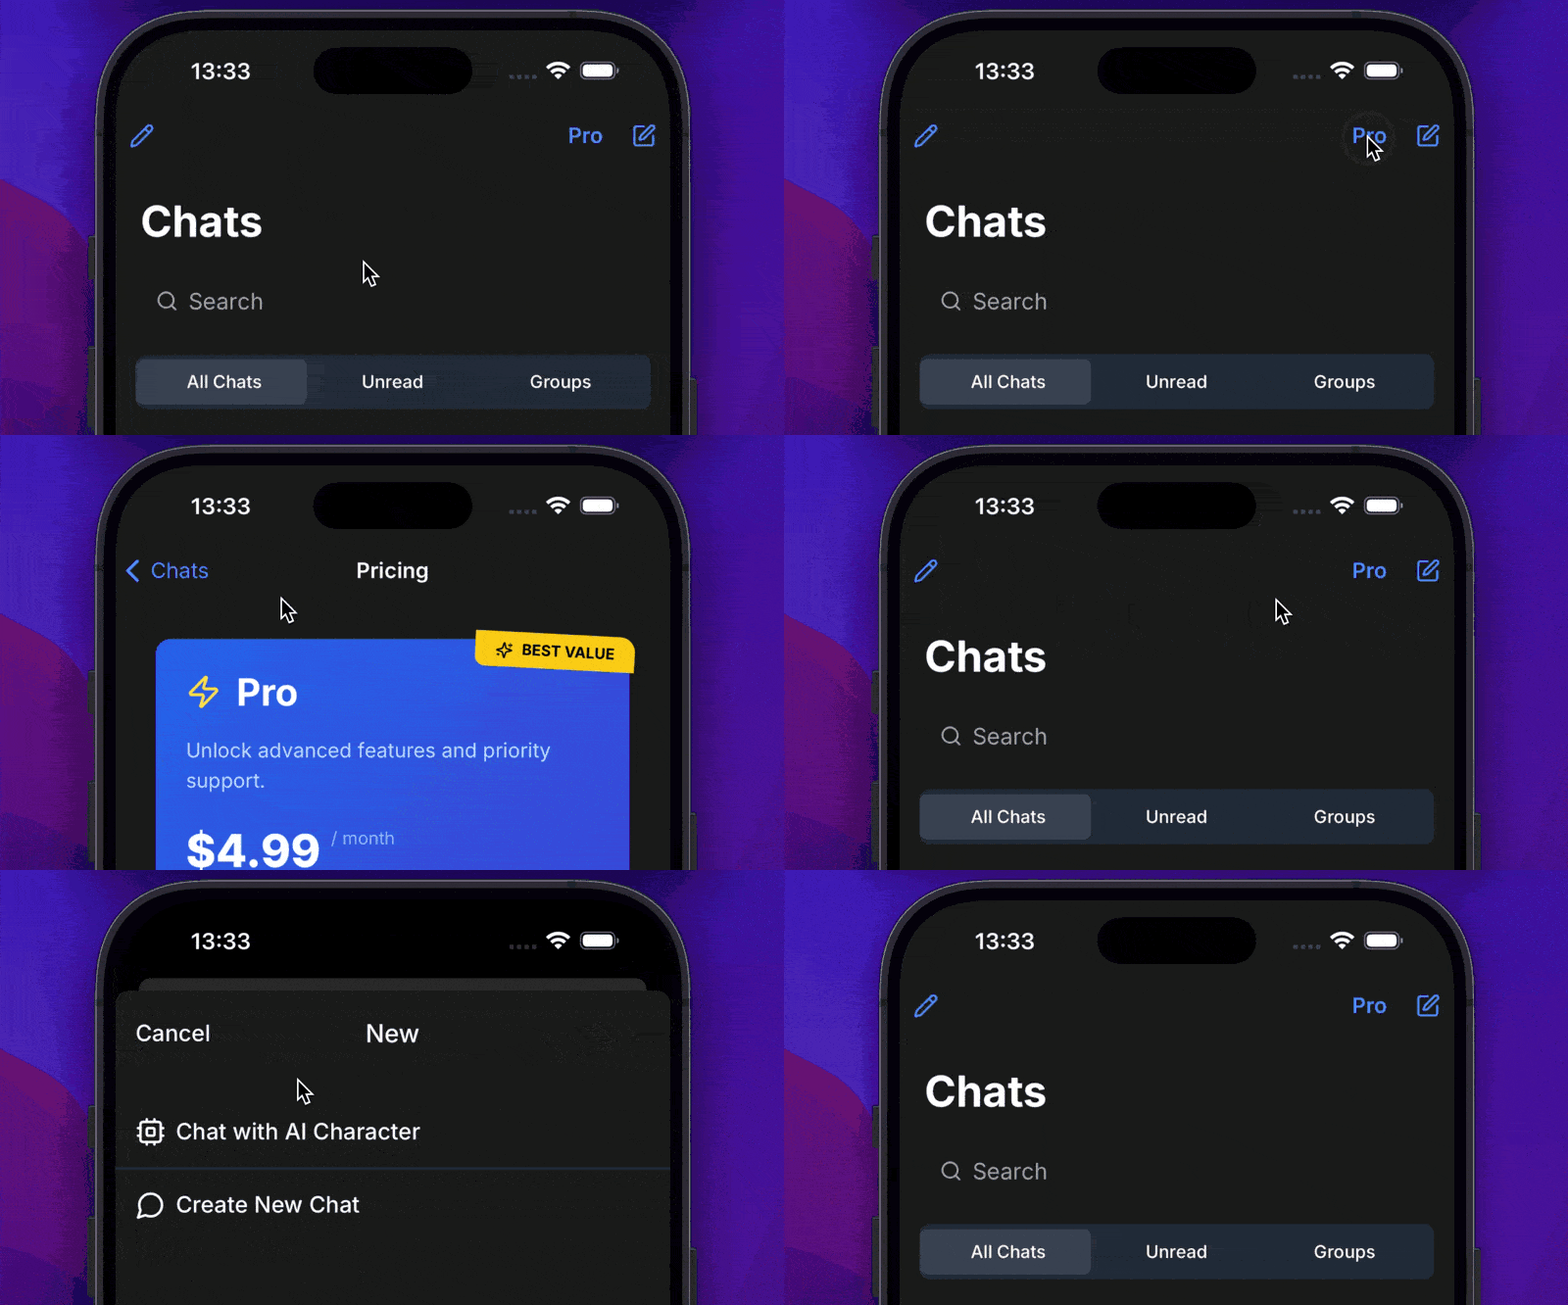
To have these slick app-like transitions between screens we need to use Ionic Router and Navbar.
Ionic Router

Ionic Router is almost the same like React Router, but built for mobile. You'll find it set up in (mobile)/router.tsx.
Router Setup
First, let's understand the main router setup in (mobile)/router.tsx:
import { IonApp, IonRouterOutlet, setupIonicReact } from "@ionic/react";
import { IonReactRouter } from "@ionic/react-router";
import { Redirect, Route } from "react-router-dom";

// Initialize Ionic React
setupIonicReact({});

const AppRouter = () => {
  return (
    <IonApp>
      <IonReactRouter>
        <IonRouterOutlet id="main">
          <Route path="/app" render={() => <YourApp />} />
          <Route exact path="/">
            <Redirect to="/app" />
          </Route>
        </IonRouterOutlet>
      </IonReactRouter>
    </IonApp>
  );
};
Key Components
- IonApp: The root component that wraps your entire application.
- IonReactRouter: The router component that enables Ionic-specific routing.
- IonRouterOutlet: Defines where your routes will be rendered, similar to React Router's
Switch. - Route: Standard React Router route component.
Creating Tab-Based Navigation
For a typical mobile app with tabs, you can create a structure like this:
import {
  IonRouterOutlet,
  IonTabBar,
  IonTabButton,
  IonTabs,
} from "@ionic/react";
import { Redirect, Route } from "react-router-dom";

export default function AppWithTabs() {
  return (
    <IonTabs>
      <IonRouterOutlet>
        {/* Define your routes here */}
        <Route exact path="/app/home" component={HomeScreen} />
        <Route exact path="/app/profile" component={ProfileScreen} />
        <Route exact path="/app/settings" component={SettingsScreen} />

        {/* Default redirect */}
        <Route exact path="/app">
          <Redirect to="/app/home" />
        </Route>
      </IonRouterOutlet>

      <IonTabBar slot="bottom">
        <IonTabButton tab="home" href="/app/home">
          <HomeIcon />
        </IonTabButton>
        <IonTabButton tab="profile" href="/app/profile">
          <ProfileIcon />
        </IonTabButton>
        <IonTabButton tab="settings" href="/app/settings">
          <SettingsIcon />
        </IonTabButton>
      </IonTabBar>
    </IonTabs>
  );
}
Nested Routes and Detail Pages
For more complex applications, you'll need nested routes for detail pages. Here's how you can set them up:
<IonRouterOutlet>
  {/* List route */}
  <Route exact path="/app/messages" component={MessagesListScreen} />

  {/* Detail route with parameter */}
  <Route
    path="/app/messages/:messageId"
    render={({ match }) => (
      <MessageDetailScreen messageId={match.params.messageId} />
    )}
  />
</IonRouterOutlet>
Conditionally Showing Tab Bar
In many apps, you'll want to hide the tab bar on detail pages:
const [showTabs, setShowTabs] = useState(true);

// Use effect to determine when to show tabs
useEffect(() => {
  const isDetailRoute =
    location.pathname.includes("/app/messages/") ||
    location.pathname.includes("/app/profile/edit");
  setShowTabs(!isDetailRoute);
}, [location]);

return (
  <IonTabs>
    <IonRouterOutlet>{/* Your routes here */}</IonRouterOutlet>

    {showTabs && (
      <IonTabBar slot="bottom">{/* Your tab buttons here */}</IonTabBar>
    )}
  </IonTabs>
);
Navigation Between Screens
To navigate between screens, you can use the standard React Router methods:
// Using Link component
import { Link } from "react-router-dom";

<Link to="/app/messages/123">View Message</Link>;

// Using history object
import { useHistory } from "react-router-dom";

const history = useHistory();
history.push("/app/messages/123");
Animation Transitions
Ionic Router automatically adds smooth transitions between pages. You can customize these transitions if needed:
<IonRouterOutlet>
  <Route
    path="/app/messages/:id"
    render={({ match }) => (
      <IonPage>
        <IonHeader>...</IonHeader>
        <IonContent>
          <MessageDetail id={match.params.id} />
        </IonContent>
      </IonPage>
    )}
  />
</IonRouterOutlet>
Real-World Example
Here's how a messenger app might structure its routes:
<IonTabs>
  <IonRouterOutlet>
    {/* Chat list */}
    <Route exact path="/app/chats" component={ChatsScreen} />

    {/* Chat detail */}
    <Route
      path="/app/chats/:chatId"
      render={({ match }) => <ChatDetailScreen chatId={match.params.chatId} />}
    />

    {/* Contacts list */}
    <Route exact path="/app/contacts" component={ContactsScreen} />

    {/* Contact profile */}
    <Route
      path="/app/contacts/:contactId"
      render={({ match }) => (
        <ContactProfileScreen contactId={match.params.contactId} />
      )}
    />

    {/* Settings */}
    <Route exact path="/app/settings" component={SettingsScreen} />

    {/* Default route */}
    <Route exact path="/app">
      <Redirect to="/app/chats" />
    </Route>
  </IonRouterOutlet>

  {/* Tab bar */}
  <IonTabBar slot="bottom">
    <IonTabButton tab="chats" href="/app/chats">
      <ChatIcon />
    </IonTabButton>
    <IonTabButton tab="contacts" href="/app/contacts">
      <ContactsIcon />
    </IonTabButton>
    <IonTabButton tab="settings" href="/app/settings">
      <SettingsIcon />
    </IonTabButton>
  </IonTabBar>
</IonTabs>
Tips and Best Practices
- Keep route definitions organized: For larger apps, consider separating route definitions into their own files.
- Use parameters consistently: Use URL parameters (
/route/:id) for identifying resources. - Handle loading states: Add loading indicators while navigating between routes.
- Preserve scroll position: Ionic handles this automatically in most cases.
- Test on multiple devices: Make sure your navigation works well on various screen sizes.
Navbar component
Conclusion
Ionic Router provides a powerful way to create native-like navigation experiences in your NextNative app. By using the components and patterns described in this tutorial, you can create intuitive navigation flows that feel like a native mobile application.
For more advanced usage, refer to the Ionic React documentation (opens in a new tab).