Ship in 5 minutes
Let's get your mobile app running in 5 minutes ⚡️
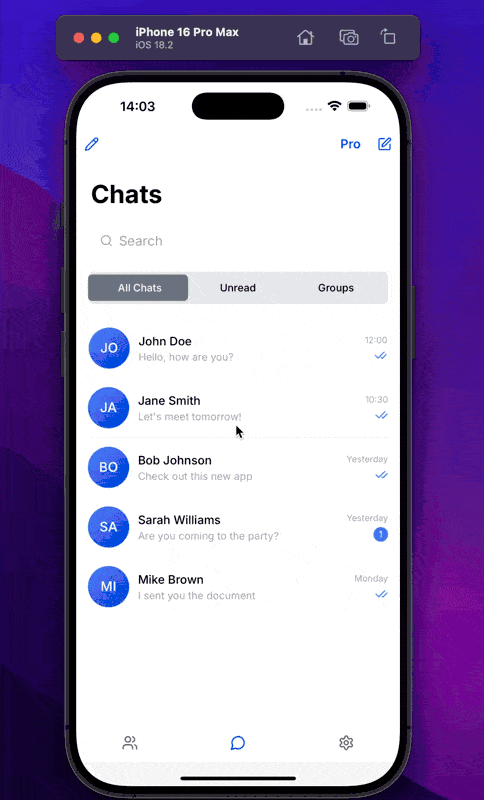
We're going to use a production-ready template messenger app that I've included.
1. Prerequisite
If you haven’t already, complete the Get Started tutorial first.
2. Run a mobile dev server
Use this command to start your mobile app in development mode. It handles:
- Static builds
- Next.js API support
- Watching changes
- Reloading updates
npm run mobile:devIt starts a local server with Live Reload (opens in a new tab), to which a mobile app will be connected.
When you're ready to ship the production build to the App Store or Google Play, run:
npm run mobile
Then follow the Preparing for deployment (opens in a new tab) guide.
iOS
1. Open in Xcode
To launch the iOS app in a simulator:
npx cap open iosOr simply open Xcode yourself and choose the nextnative/ios/App/App.xcworkspace file.
2. Run the Simulator
Click the ▶️ Run button in Xcode to boot your app.
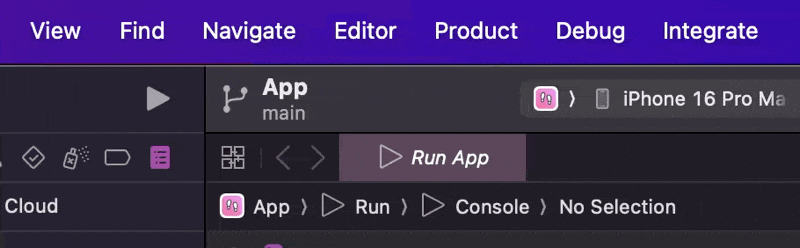
🕓 The first build might take a bit longer — Xcode will compile and set up your project.
✅ All future reloads will be much faster.
Android
If you don't need Firebase Auth/Notifications in your app at all, go to build.gradle and remove this line:
apply plugin: 'com.google.gms.google-services'Then skip to Step 5.
Rename your app before setting up Firebase for Android.
1. Add a new Android app on Firebase
In the Firebase console (opens in a new tab):
- Click Add App → Select Android
- Enter your app’s Package name (e.g.
com.yourcompany.appname) - (Optional) Add app nickname
- Click Register app
2. Download & place config file
- Download the
google-services.jsonfile - Place it in:
android/app/google-services.json3. Edit build.gradle
It's already done in the latest update of NextNative, so if you have the latest version pulled, no need to do this.
Go to android/app/build.gradle and replace these lines:
try {
    def servicesJSON = file('google-services.json')
    if (servicesJSON.text) {
        apply plugin: 'com.google.gms.google-services'
    }
} catch(Exception e) {
    logger.info("google-services.json not found, google-services plugin not applied. Push Notifications won't work")
}
with only this one line:
apply plugin: 'com.google.gms.google-services'4. Rerun a mobile dev server
npm run mobile:dev5. Open in Android Studio
To launch an Android app in an emulator or a real device:
npx cap open androidOr simply open Android Studio yourself and choose the nextnative/ios folder.
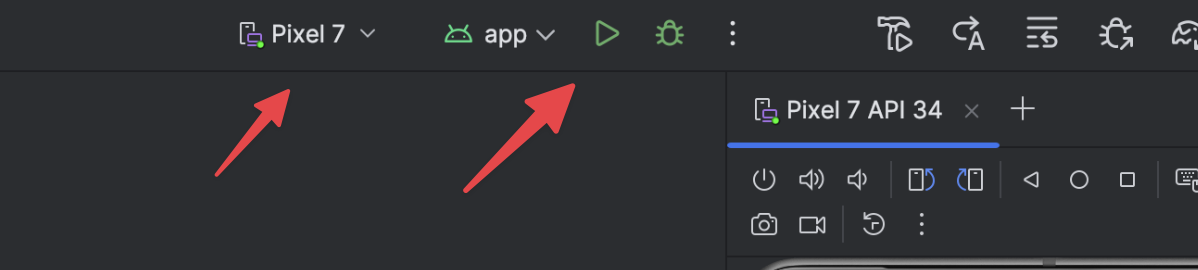
6. Run
Click the ▶️ Run button in Android Studio to boot your app.
Run your app on a real Android phone.
It’s the only way to test native Google login reliably on a Mac
M1/M2 and many Windows PCs.
If you don't have an Android phone,
no worries, you can test everything in a browser. But it's recommended to test
on a real device before publishing an app.
You’re Live! 🚀
That’s it, you’ve got a native mobile app running with Next.js in just a few minutes.
Go ahead and start building your own features:
Next Steps
Now that your app is running, here’s what you can explore next:
- 🗃️ Connect a Database to store and sync data
- 🔐 Add Firebase Authentication to authenticate users
- 💰 Enable In-App Purchases to start making money
- 🔔 Set up Push Notifications to re-engage users
- 🚀 Prepare for App Store / Play Store deployment
Your app’s foundation is solid — time to build something amazing 💡
Want to go deeper? Explore more tutorials like:
- 🧩 Router
- 🔄 Make Requests to Next.js API
- 🧪 Native Device Features
- 🎨 Splash Screen Setup
- 🔑 Onboarding Flow
Every piece brings you closer to launching a full-featured mobile app.