Firebase Authentication Setup for iOS & Android
🔧 Skip Auth logic to test app without it
Still setting up Firebase Auth? You can skip the sign-in screen and test your app by setting:
// (mobile)/router.tsx
const isSignedInTest = true;
Create a Firebase project
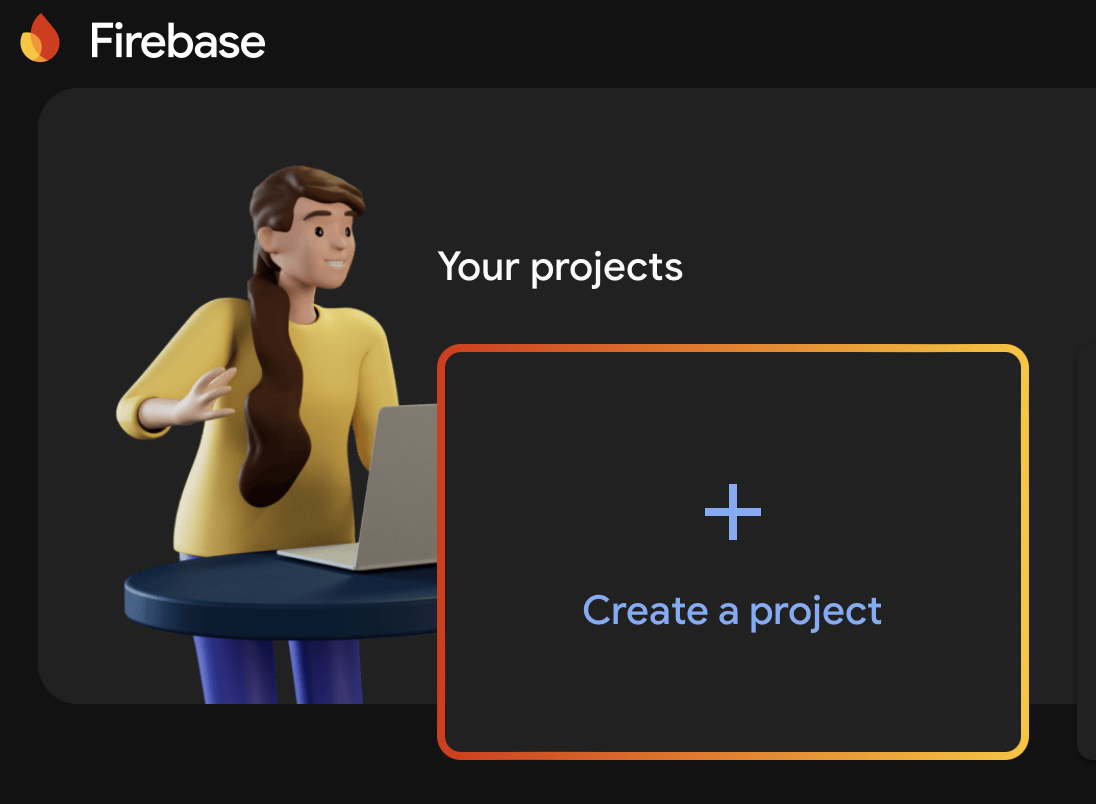
To set up authorization, start by creating a new project in Firebase:
Go your project on Firebase (opens in a new tab) and create a new project.
Update values in .env.local
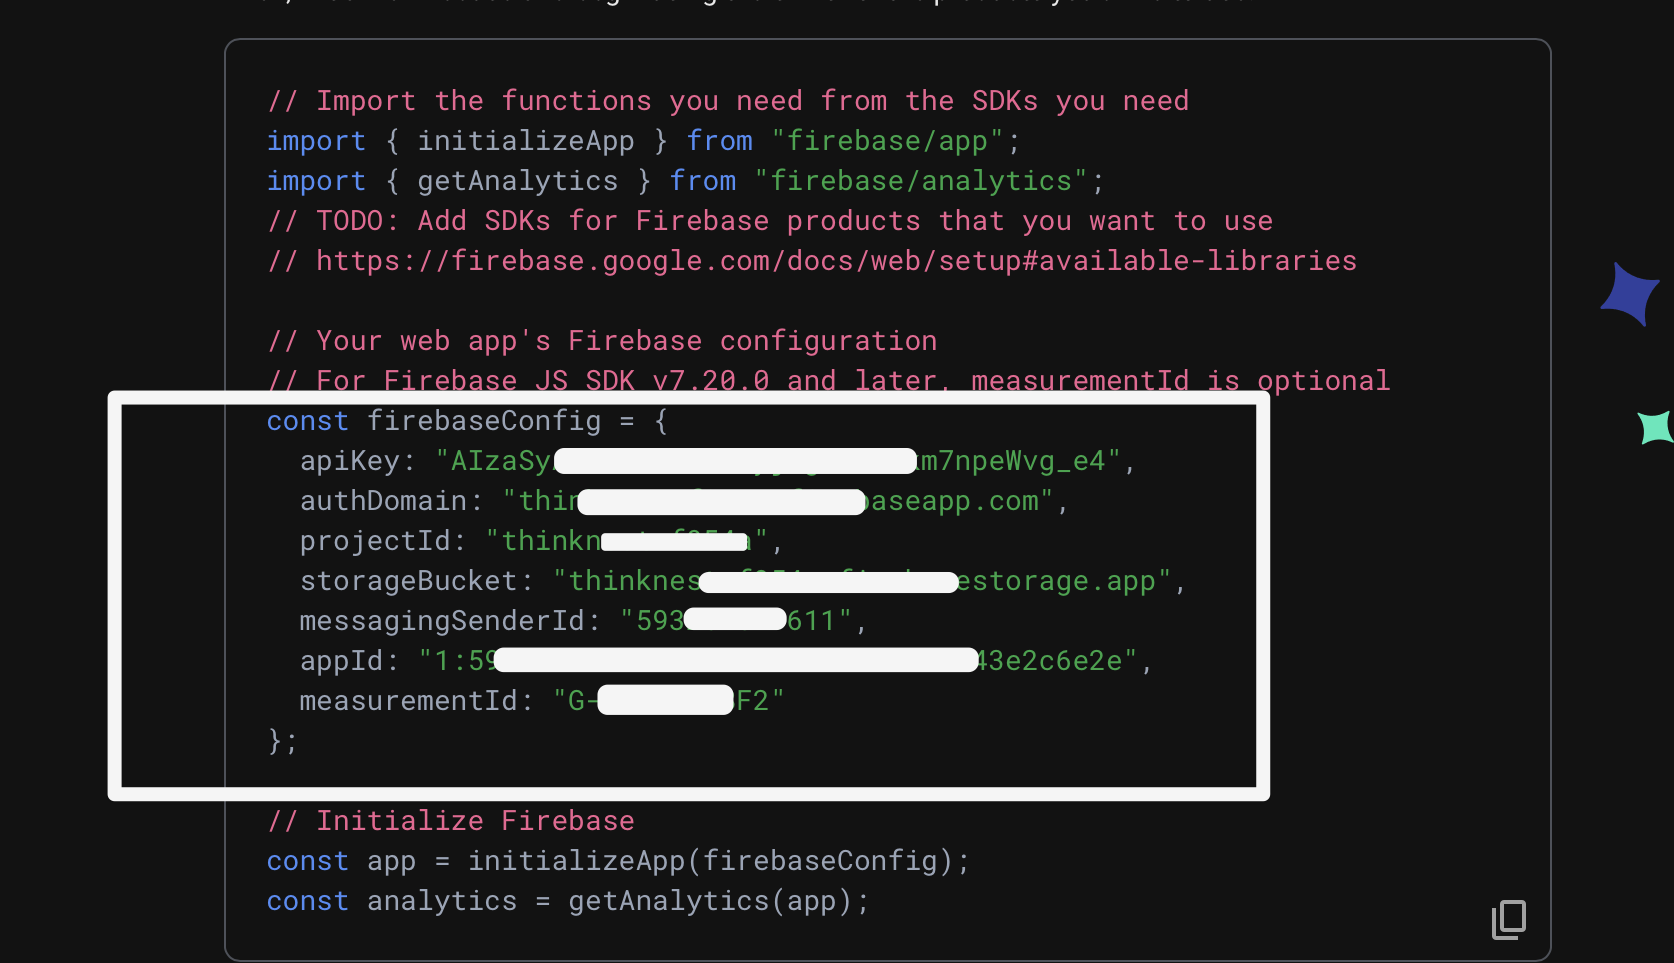
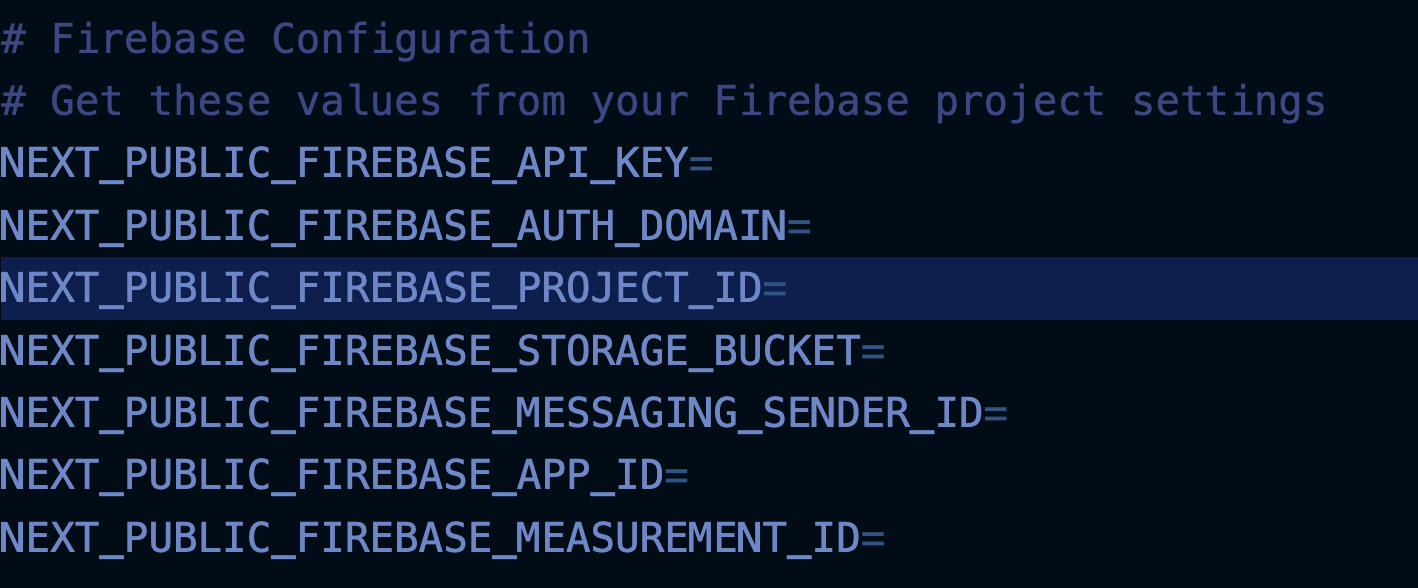
Take these Firebase Auth config values and paste them in your .env.local
iOS Setup
Rename your app before setting up Firebase Authorization for iOS.
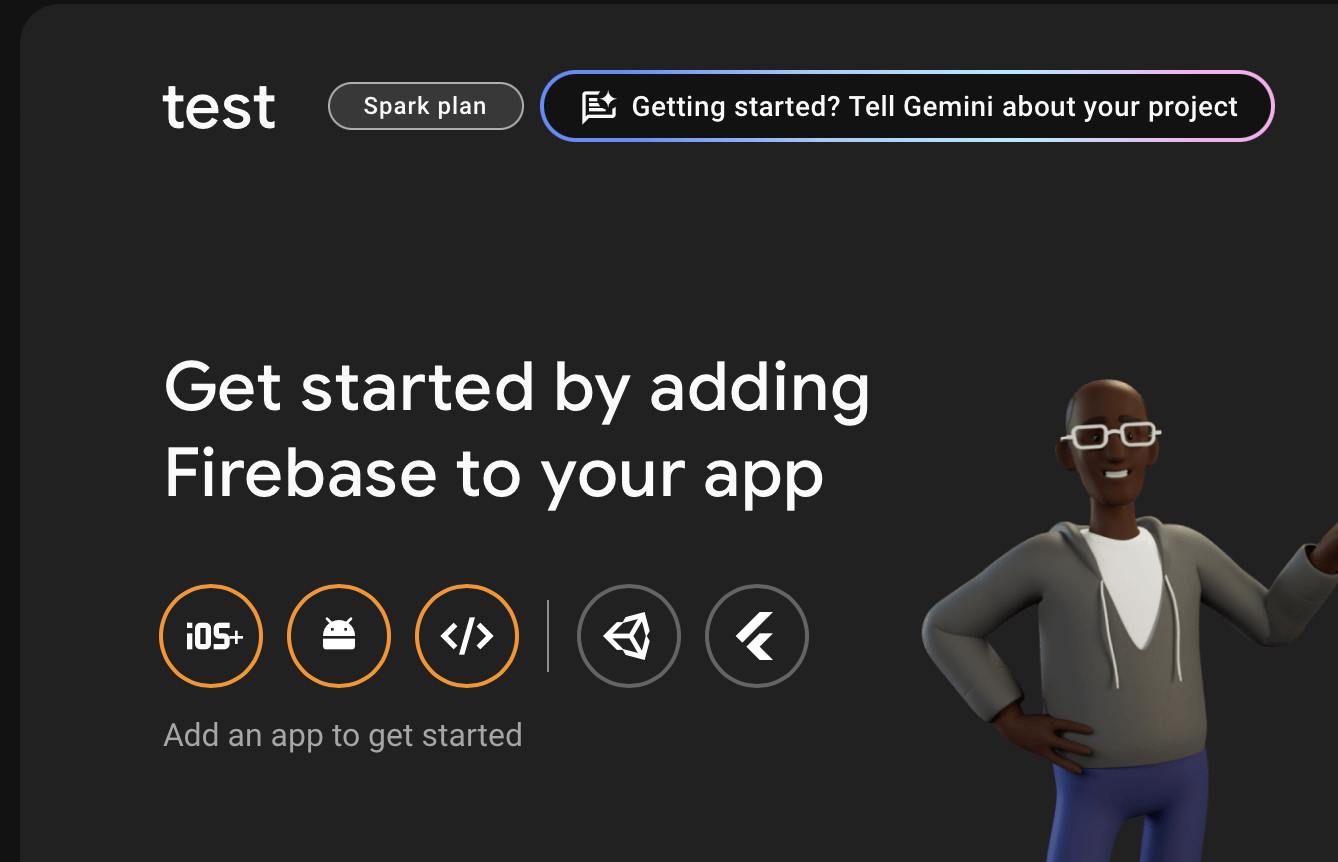
1. Register your iOS app
In the Firebase console:
- Click Add App → Select iOS
- Enter your iOS Bundle ID (e.g.
com.yourcompany.yourapp) - (Optional) Add an App nickname
- Click Register App
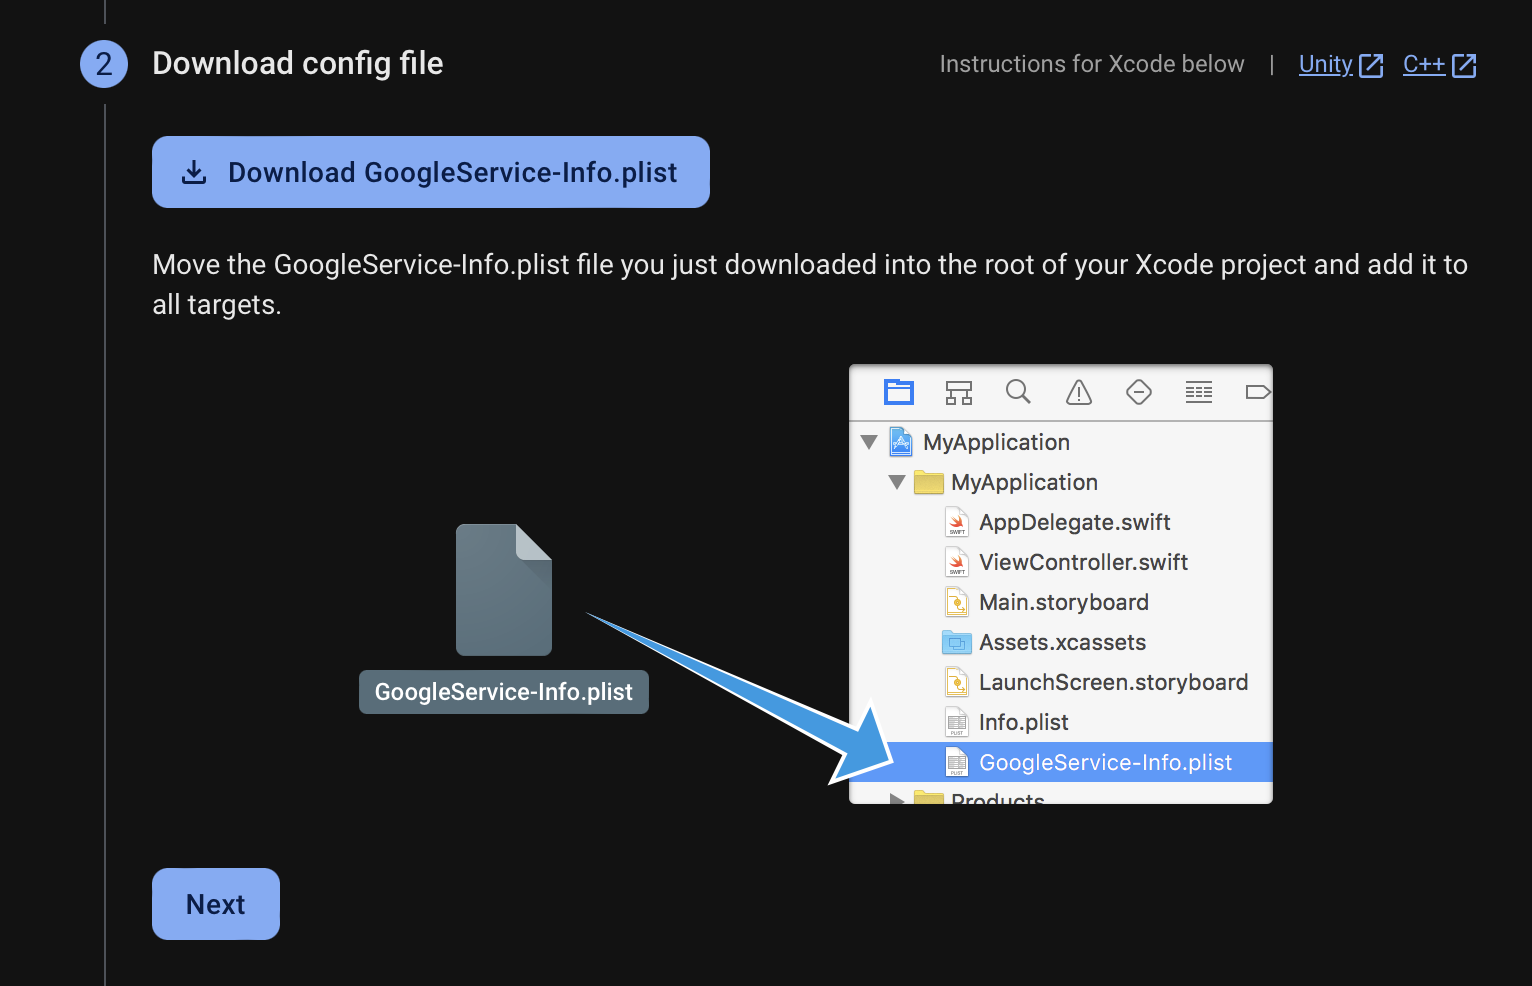
2. Download the Firebase config file
Once your iOS app is registered:
- Click Download
GoogleService-Info.plist - Save it locally – you'll need it in Xcode
3. Open iOS project in Xcode
Run the following command:
npx cap open ios4. Add the config to your project
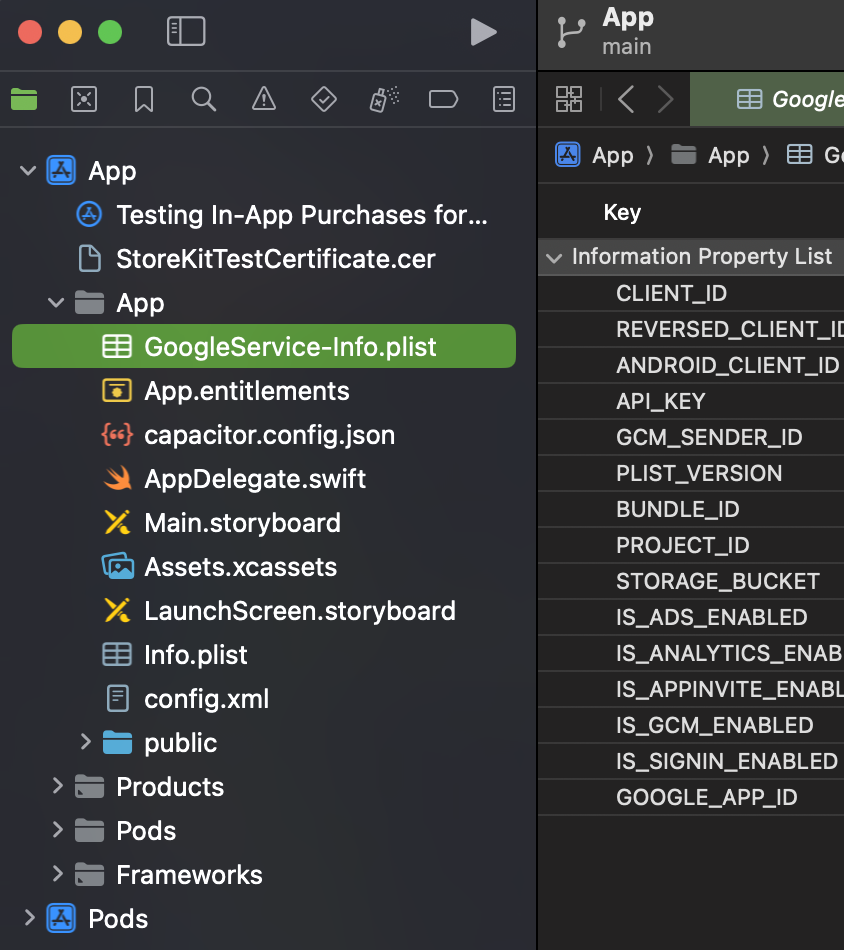
- Drag & drop the GoogleService-Info.plist into Xcode
- Select “Copy items if needed”
- Place it in the root of the app target folder
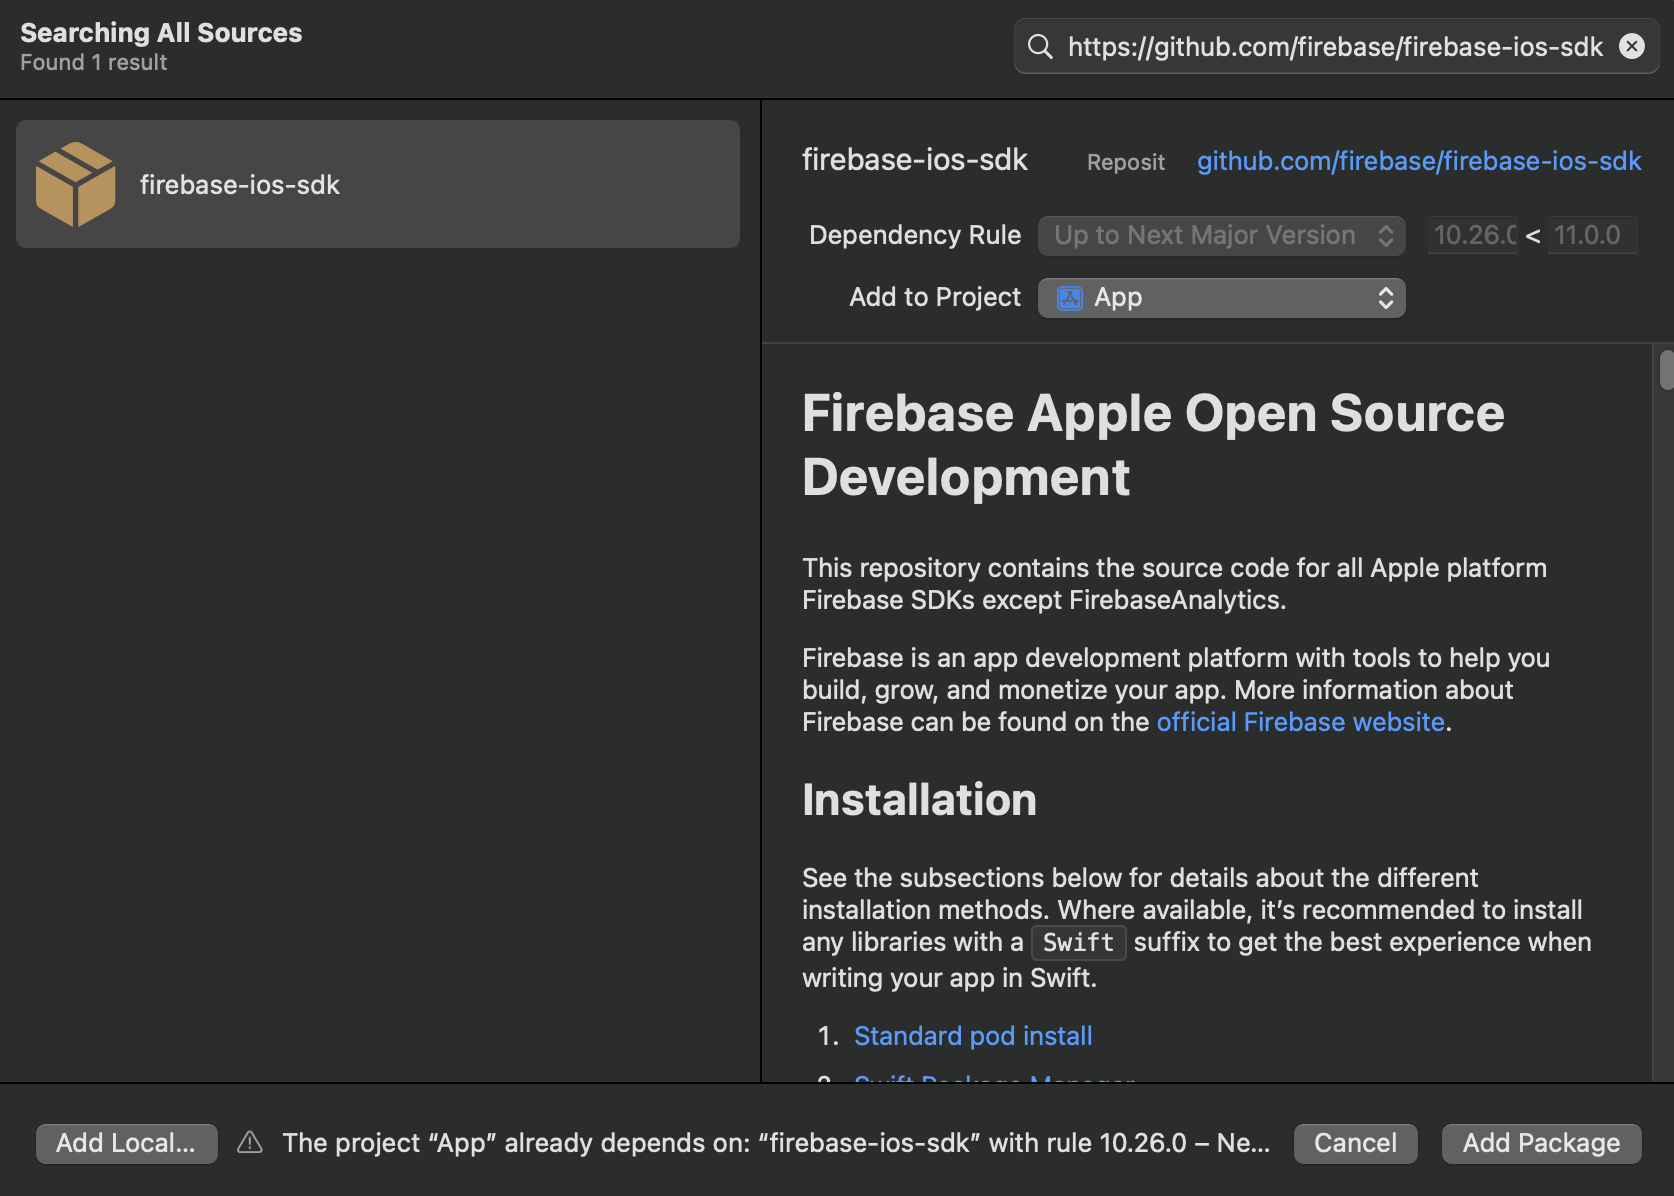
5. Install Firebase SDK via Swift Package Manager
- In Xcode: File → Add Packages
- Paste:
https://github.com/firebase/firebase-ios-sdk- Select only the modules you need (e.g. FirebaseAuth)
- Click Add Package
6. Enable Google Sign-In
- Go to Authentication → Sign-in method
- Enable Google
- Save
🔁 Re-download GoogleService-Info.plist and replace the old one
7. Enable Apple Sign-In
- Go to Authentication → Sign-in method
- Enable Apple
- Save
8. Configure Custom URL Scheme
- In Xcode, open project settings
- Select your app under Targets
- Go to Info → URL Types
- Click ➕ and add a new entry
- In URL Schemes, paste your REVERSED_CLIENT_ID
(found in GoogleService-Info.plist) 6. Leave other fields empty
This step enables Google login redirect to work
9. Test Login Flow
You can now call:
import { FirebaseAuthentication } from "@capacitor-firebase/authentication";

await FirebaseAuthentication.signInWithGoogle();
// or
await FirebaseAuthentication.signInWithApple();
Sign out:
await FirebaseAuthentication.signOut();You can use SignInScreen.tsx component where all of these is done. It's going to be run by default.
Android Setup
If you don't need Firebase Auth/Notifications in your app at all, go to build.gradle and remove this line:
apply plugin: 'com.google.gms.google-services'Rename your app before setting up Firebase Authorization for Android.
1. Add a new Android app
In the Firebase console:
- Click Add App → Select Android
- Enter your app’s Package name (e.g.
com.yourcompany.appname) - (Optional) Add app nickname
- Click Register app
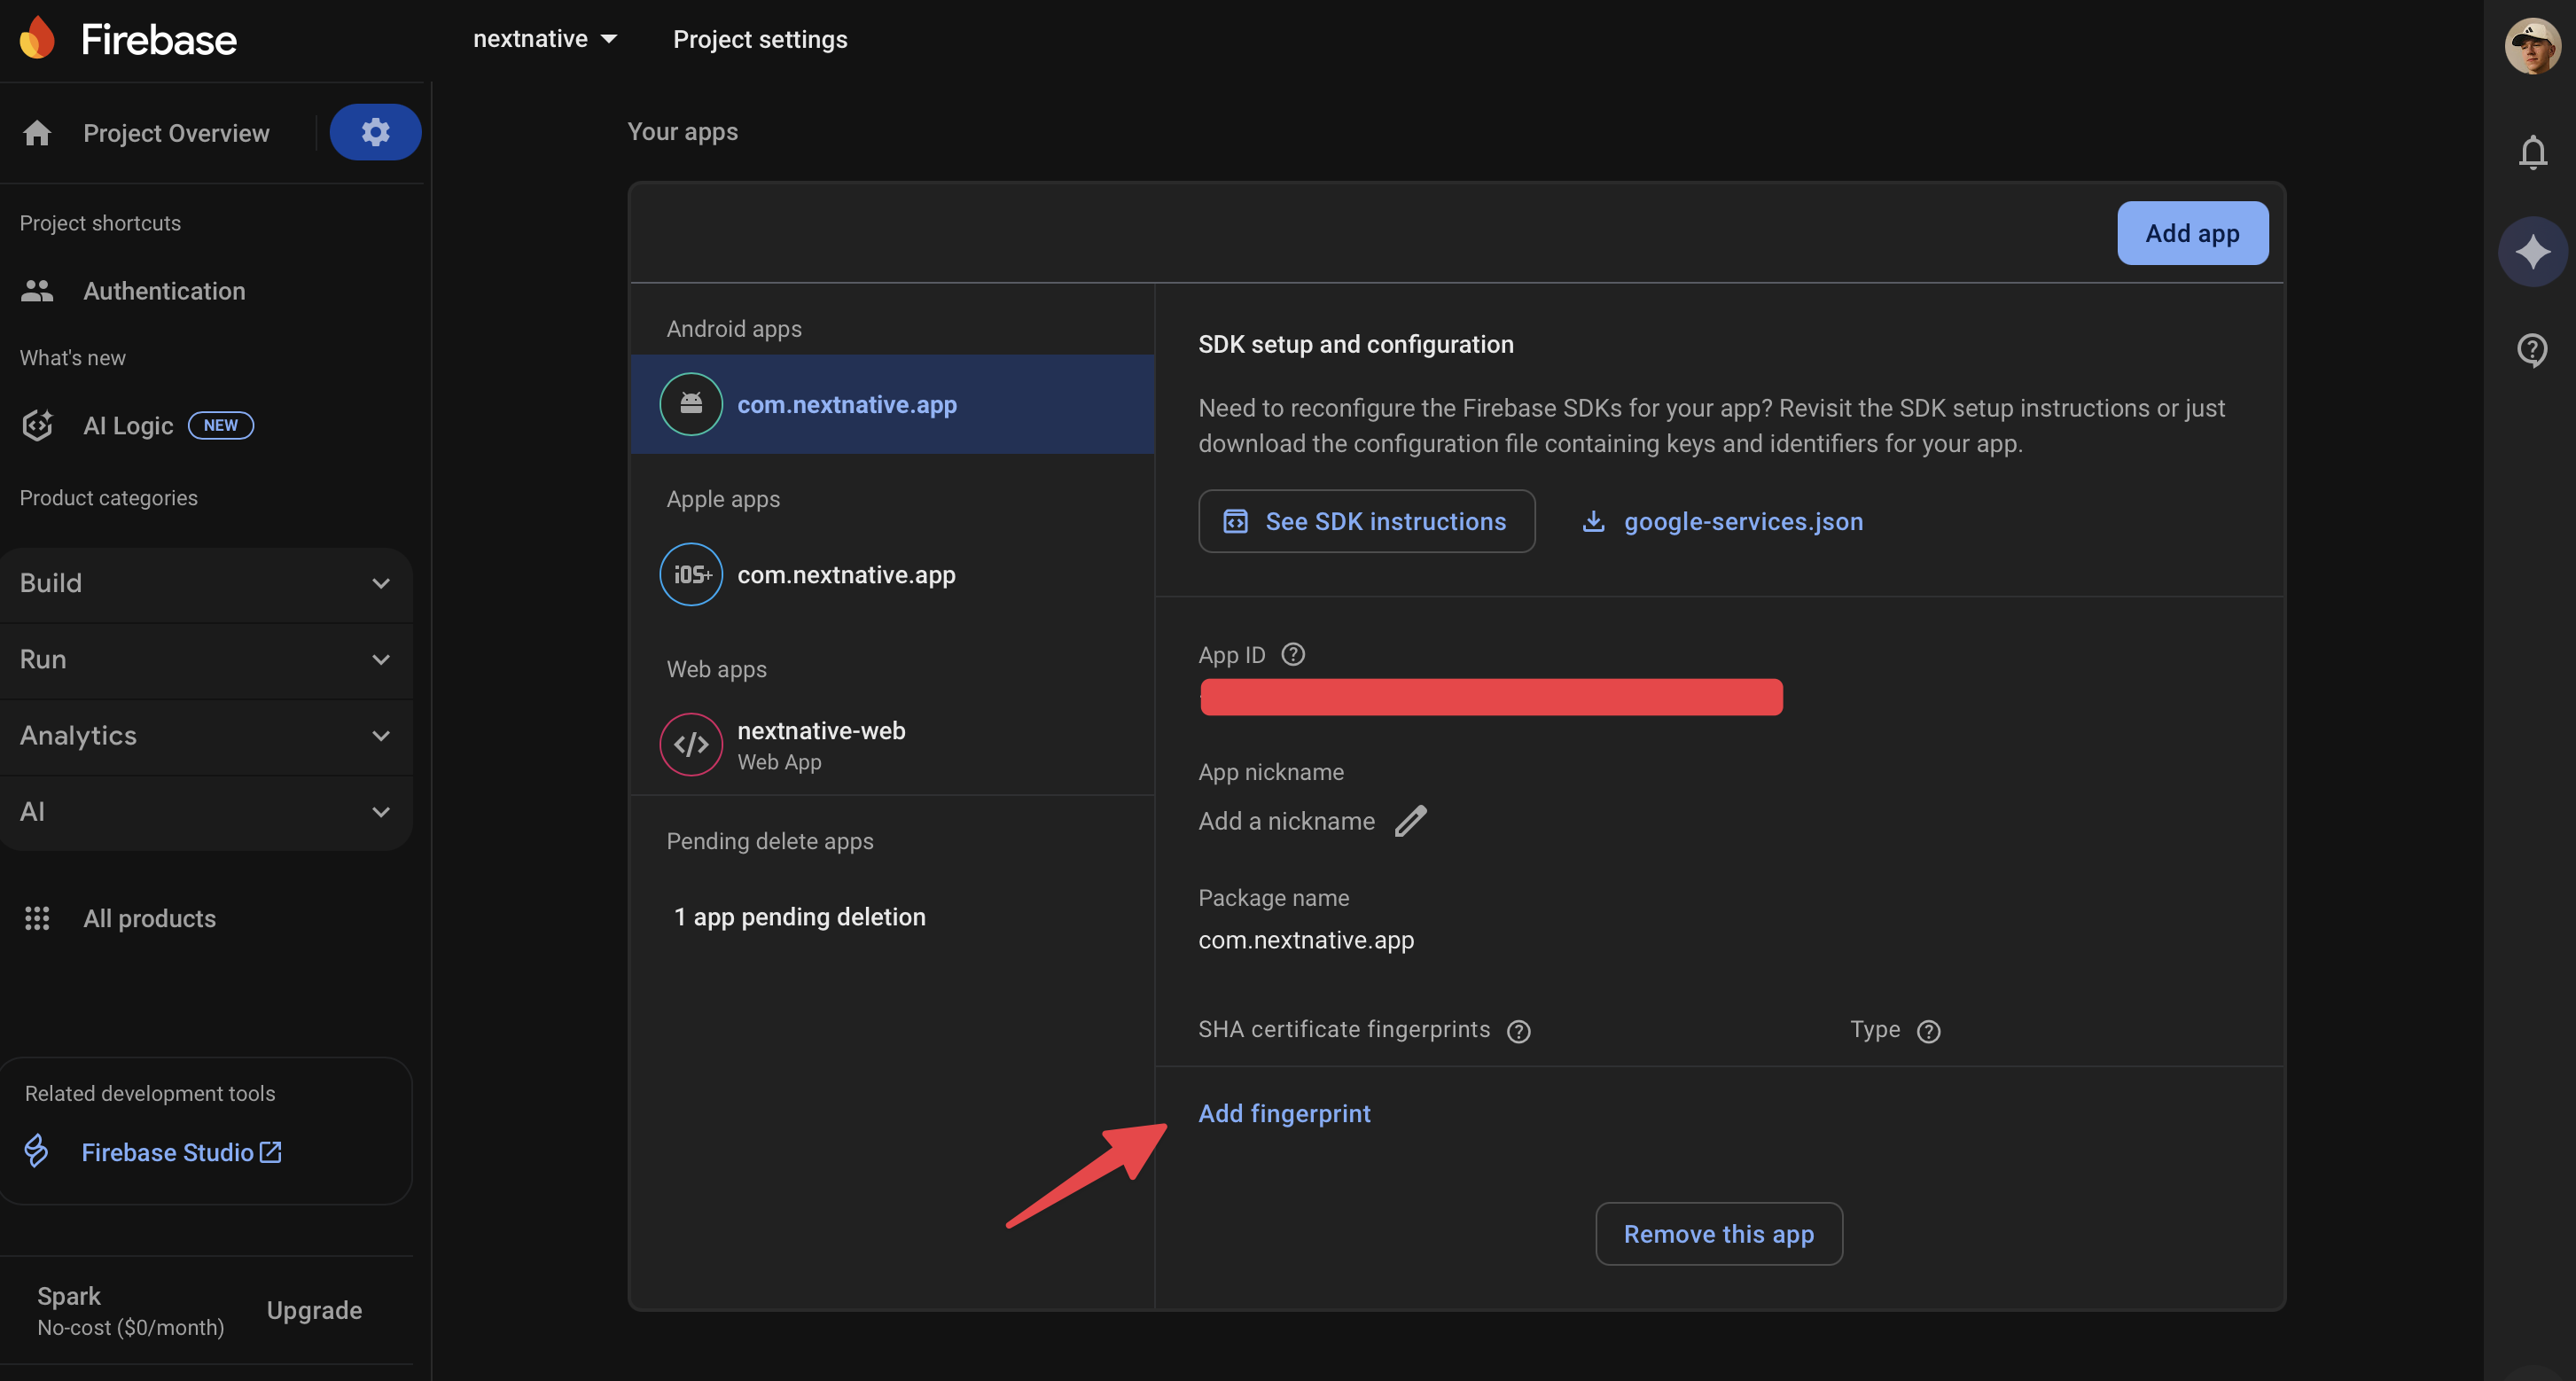
2. Set SHA-1 fingerprint
Open a terminal and run:
macOS/Linux:
keytool -list -v \
-alias androiddebugkey -keystore ~/.android/debug.keystore
Windows:
keytool -list -v \
-alias androiddebugkey -keystore %USERPROFILE%\.android\debug.keystore
It will prompt you to enter a password for the keystore.
The default password for the debug keystore is android. The keytool then prints the fingerprint to the terminal. For example:
Certificate fingerprint: SHA1: DA:39:A3:EE:5E:6B:4B:0D:32:55:BF:EF:95:60:18:90:AF:D8:07:09Copy it and paste here in Firebase Project Settings for your Android app:
3. Download & replace config file
- Download the
google-services.jsonfile - Place it in:
android/app/google-services.json4. Enable Google Sign-In
In Firebase Console:
- Go to Authentication → Sign-in method
- Enable Google
- Save
5. Sign in with Google
Use the Capacitor plugin to trigger login:
import { FirebaseAuthentication } from "@capacitor-firebase/authentication";

await FirebaseAuthentication.signInWithGoogle();
Sign out:
await FirebaseAuthentication.signOut();6. Test on real Android device
npx cap open androidUse a physical device with Google Play Services. Most emulators don’t support this.
Web
1. Add a new Web app in Firebase
- Go to your Firebase project
- Click Add App → Select the Web icon
- Enter a nickname (e.g. My Web App)
- Click Register App
2. Update values in .env.local
Take these Firebase Auth config values and paste them in your .env.local